![]()
Creating Groups

- Go to “Groups” through the Navbar (shown above) or through Course Admin.
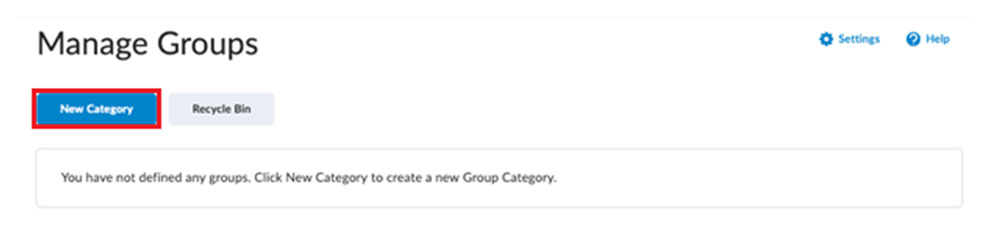
- Click “New Category” to create a category (above). Similar to the Discussions tool, there needs to be an existing category before a group can be made.

- Give your category a name and select the enrollment type you want this category to have (above). Please note that the enrollment type will change the settings you will input.
- You can have several groups, groups of certain numbers, either or both options with self-enrollment, and single user member specific groups. The last option is typically one used to create Journal type assignments where only the student and the instructor can see anything.

- Tweak any additional options you want (above). You can set up discussions, assignments, and lockers within each category that you wish to assign to your groups.
- Lockers are personal file storage students can access which allow them to hold files inside of the course. This is particularly useful for collaborating with their peers or group partners on projects/assignments.

- Once you’ve finished making the category, you will likely see a Workplace Summary (above) based on the settings you’ve turned on or off. If so, click “Done.”

From here, you can edit existing categories using the dropdown arrow next to the group name (above). The groups themselves can only have their names changed but if you have set up discussions, assignments and/or lockers, there are more options to change. You can also view all members enrolled in a group if you click on the number in the “Members” column.